How to Fix Broken Makeup with FIXY
Our FIXY How to video will show you the steps to fix your broken makeup, but you can also blend unused colors and create a new shade with your FIXY kit! We created How To Fix Broken Makeup with FIXY video to explain the easy steps to fix your makeup, but if you'd rather see step by step instructions, read more below!
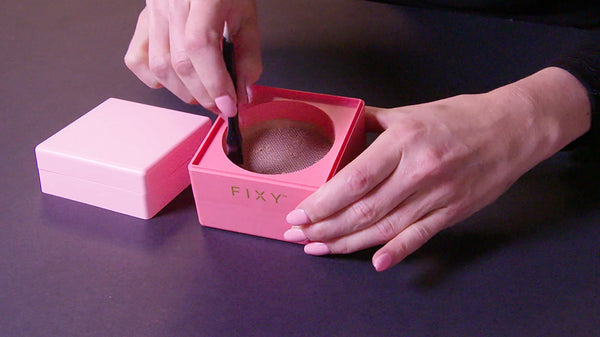
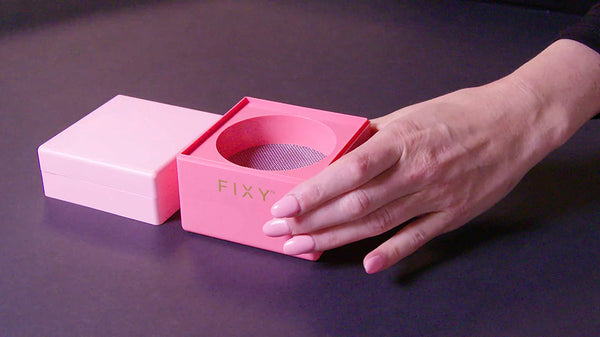
In the kit, you’ll find a small box composed of multiple sections. This is the press, and it’s where the magic happens! Remove the top section of the press so you can see what we call the “grinding drawer.” This drawer has a screen for grinding your makeup into a fine powder.
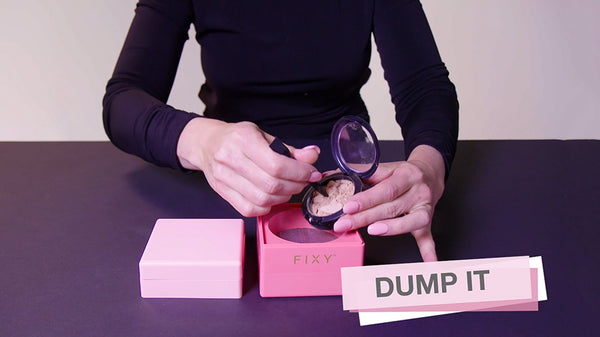
DUMP
You’ll want to use the included makeup pick to scrape your broken makeup onto the screen. Try scraping everything out of your old container if you can. I don’t know about you, but with the price of makeup, I want to use every bit!
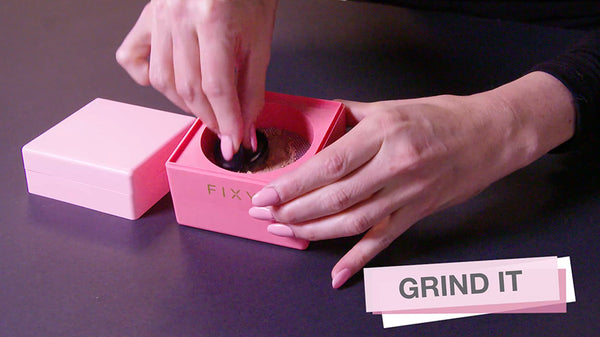
GRIND
With the kit’s grinding tool, grind the makeup in a circular motion. When you’ve ground the powder through the screen, use the kit’s brush or scraper tool to get all the remaining powder from the sides. If you’re extra OCD like yours truly, feel free to lightly tap on the screen to encourage every last bit to fall through. Once you’re satisfied, lift off the section with the screen.
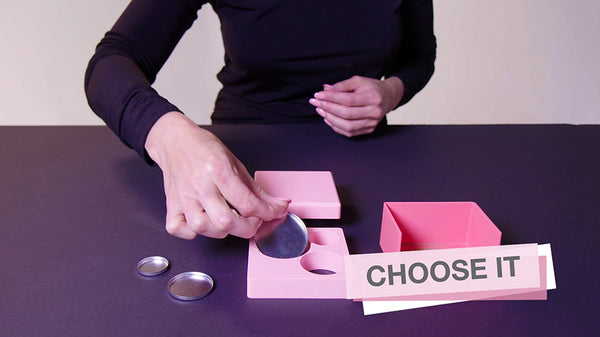
CHOOSE IT
From among the included empty makeup pans, choose the right size for your product. For example, if you are fixing a blush, you may decide the medium pan fits it best. It’s perfectly fine if you happen to choose the wrong size, so don’t stress over it. It’s just as easy to redo these steps a second time! Now, take the top section you removed from the press originally. Look for the tray with three holes in it. Lay that tray on a flat hard surface and slide your selected makeup pan into the appropriately-sized hole.
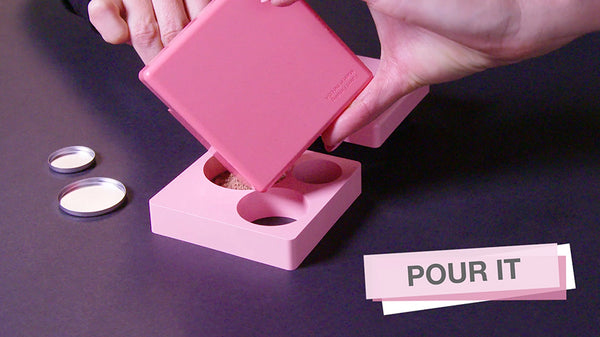
POUR
Using the tall corner of the base and your brush, pour the makeup into your new tin. Look for the fill lines inside of the hole. They will tell you exactly how much makeup will fit perfectly into your makeup pan.
SPRAY
This next step is only needed if your makeup isn’t mineral-based. If you are using mineral makeup skip this step. If not, you’ll need to spray your makeup. Using the spray bottle with the binding solution, keep your hand about five inches above the makeup pan, and give it few light sprays (the amount will vary so look at the bottle or your instructions for more info). You want it damp not drowning. Before moving on, see if it seems too wet. If it does, simply place a tissue on to of the holes before moving on.

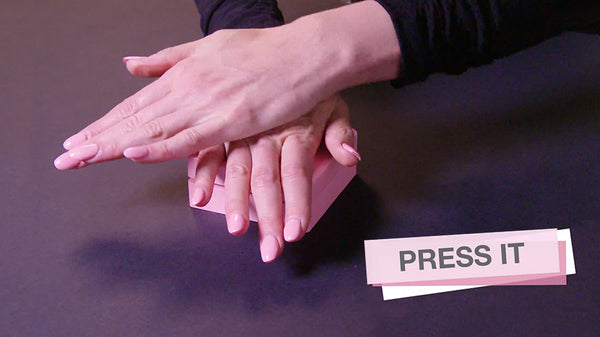
PRESS
Taking the very top section of the press, align it over the tray and your makeup tin. Using both hands, press down with fairly decent force and hold it for 10 seconds. This is what packs your makeup together again. Lift off the top and gauge whether it needs another press. If it does, go ahead. Otherwise, you’re done! Lift the tray to remove your makeup tin and voilà--no more loose, crushed makeup!
USE
If there’s makeup leftover, lightly tap it into the base and you’re good to go! Now just set the tin into the magnetic palette for safe keeping. Your makeup bag will thank you! If you want, test your makeup to see that the color hasn’t changed. It’s still your favorite shade, but usable again!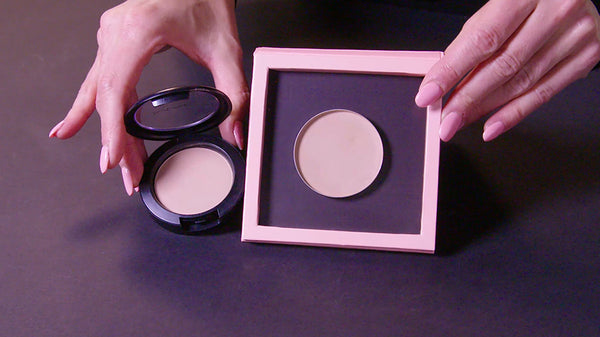
We all know that no matter how careful we are, our makeup gets broken. There’s good news, though! Even if you use all the pans provided in the kit, you can reorder more pans. You don’t have to purchase a new kit, just order the products you need! Whether more pans or a small or large palette, you can order specifically what you want.
