Why It's Great
Besides the fact that it saves you a huge amount of money in broken makeup and lets you become your own makeup designer, the Fixy Kit has a ton of other stuff going for it. It comes with everything you need, it's easy to clean, and it all folds up into a little box that fits in your hand. This makes it great to store or even travel with. I just love the shape and design of this little all-inclusive kit!How To Create A Custom Highlighter
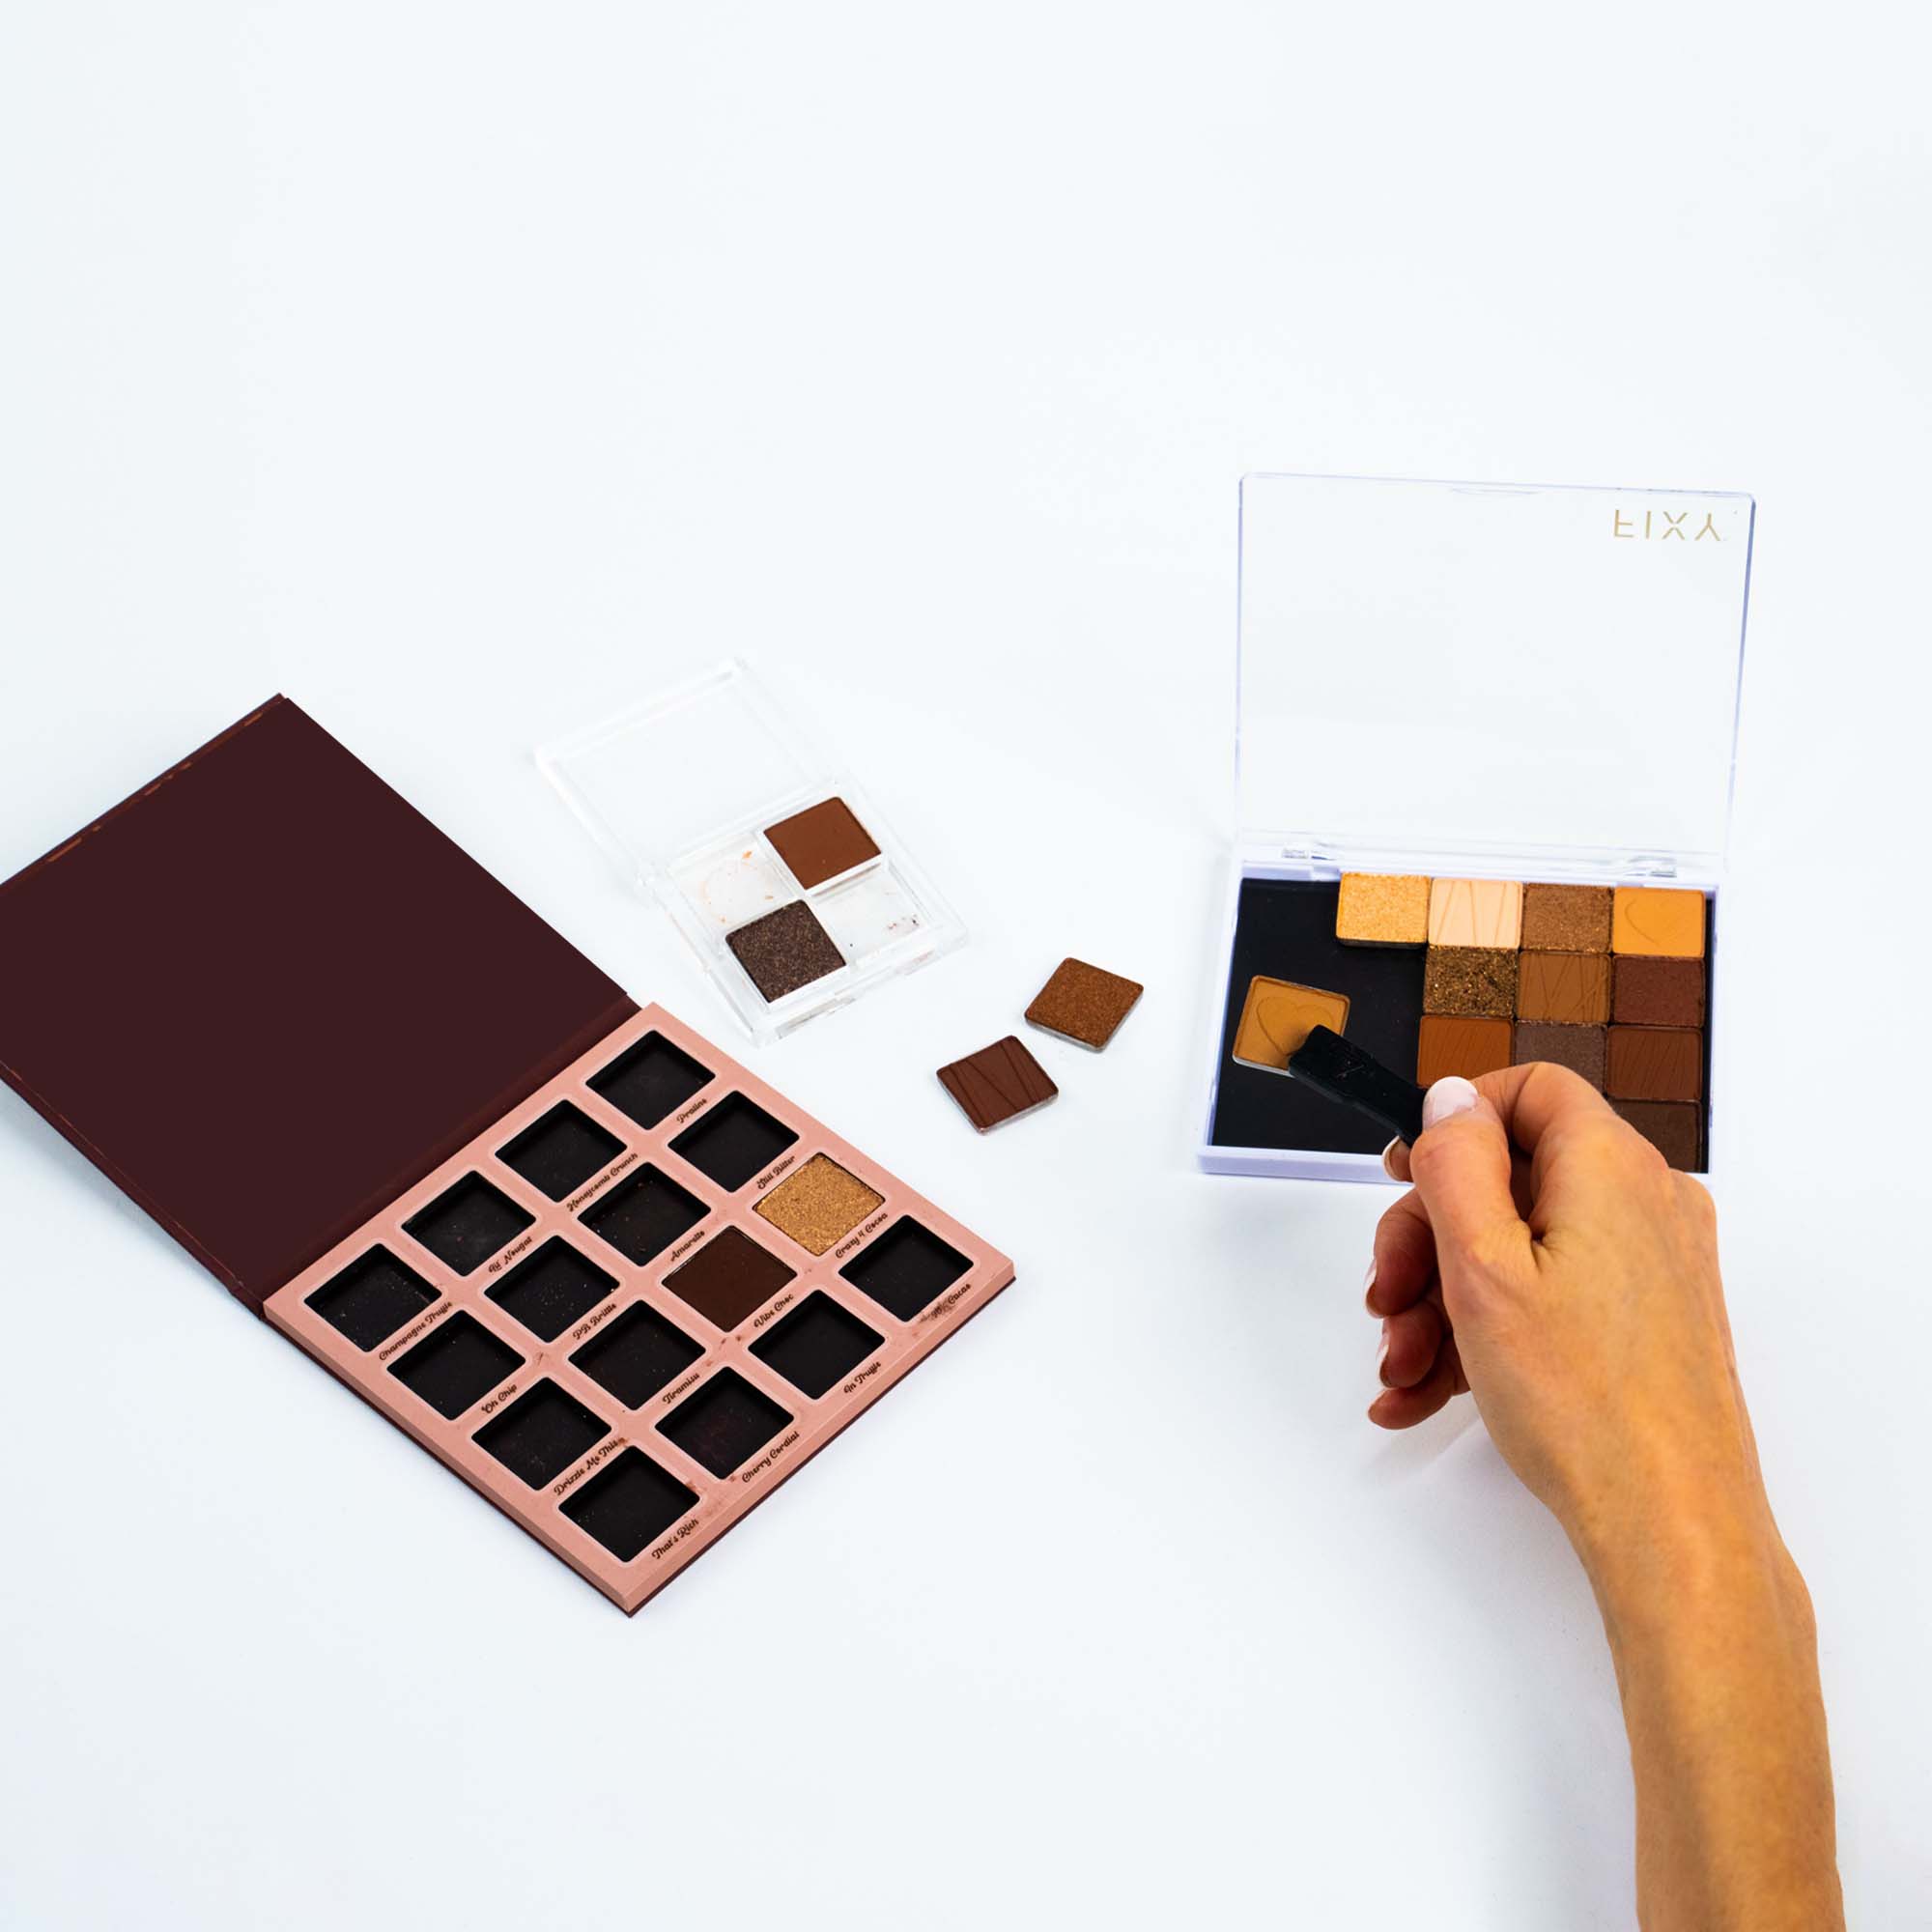
To test drive the Fixy Kit, I decided to make my own DIY highlighter. I gathered together a mix of my own favorite highlighters, along with some broken and older pans which had colors that would go really well together. Here's what I did with it all:
1. Scrape Out The Product:
The first thing I did was to use the included scraping tool to scrape the tops off of some of my product. The scraper made it possible to remove the top layer of the highlighters without damaging the what lay underneath. I also discovered that the original highlighters I used worked better after the top layer was scraped off, which makes it a real win-win. I've even talked to friends who were able to mix multiple colors to create a rainbow highlighter. The sky's the limit.

The problem with most attempts to create custom makeup is the lumps that always seem to form. This is especially true with the smooth fine buttery formulas of highlighters. This is where the Fixy Kit really shines. I was able to use the grate attachment along with the pushing tool to create a fine, uniform powder that made a great result. After that, I used the brush included in the kit to mix the colors together, so it was patch-free.

3. Fill The Pans and Apply the Fixer:
Once I had a nice, fluffy powder, I put it in the pan. This is the part that requires a bit of experience. On the first round, I didn't quite use enough powder to fill the pan the right way. After a little trial and error, I was able to eyeball the right amounts. Luckily, there's a fill line in the kit just above the pan to guide you along. The brush that helped me mix the powders worked great for getting all of the powder out and into the pan, as well.

4. Spray the FIXY Binder:
The Fixy kit comes with a spray vial of fluid that sets the product and holds everything in place. For a large pan of product, I sprayed four times, which turned out just right. A little goes a long way!

5. Press The Product:
The top of the Fixy Kit fits into the part that holds the pans so that a simple firm press is all that was needed to turn the powder and setter into an evenly filled highlighter that I was able to make myself. If you aren't happy with the product after you press, you can break it up and try again. In this case, this is hands down my new favorite shade, and I don't see myself ever wearing anything else!

Clean Up:
For me, the most dreaded part of the whole experience was clean up. I imagined powder everywhere and a difficult time getting everything cleaned. I was so relieved to see everything come clean easily in the sink. The grate took a little bit of scrubbing, but within five minutes I was done with cleanup. Then all that's left is to let the kit dry and snap it back together.
The Verdict
I could not be happier with my new DIY highlighter. The color and texture are amazing, and I'm so proud to have made it myself. I really look forward to all the money I'm going to save, and all the great combinations I can try with this new kit. To get your own Fixy Kit, go to the company website here, and start making your own amazing custom makeup.